Finger Sketch is a super cool feature in Govee lights. It lets you control each individual light on your product exactly how you want it.
This feature is super useful for making security lights or “architecture lighting” for your Permanent Outdoor Lights. You can also get creative and make designs with rope lights and other cool stuff. It’s a great way to personalize your lights, right? Well, it is, but I just have one suggestion: Don’t use it unless you’re doing a DIY project.
I mentioned not to use one of the main features of the lights, but hear me out. When you create in Finger Sketch, there’s no way to save it except for a Snapshot. But here’s the catch: when you save your creation through a Snapshot, it becomes non-editable. So, if you’re planning to use Finger Sketch, I suggest you save yourself some time and switch to DIY instead. This way, you can easily switch into it, but you can also edit and tweak it later if you want.
How to use Finger Sketch in a DIY?
- In the Govee Home app, tap on your product to open its settings, and turn on the lights if they are currently off.
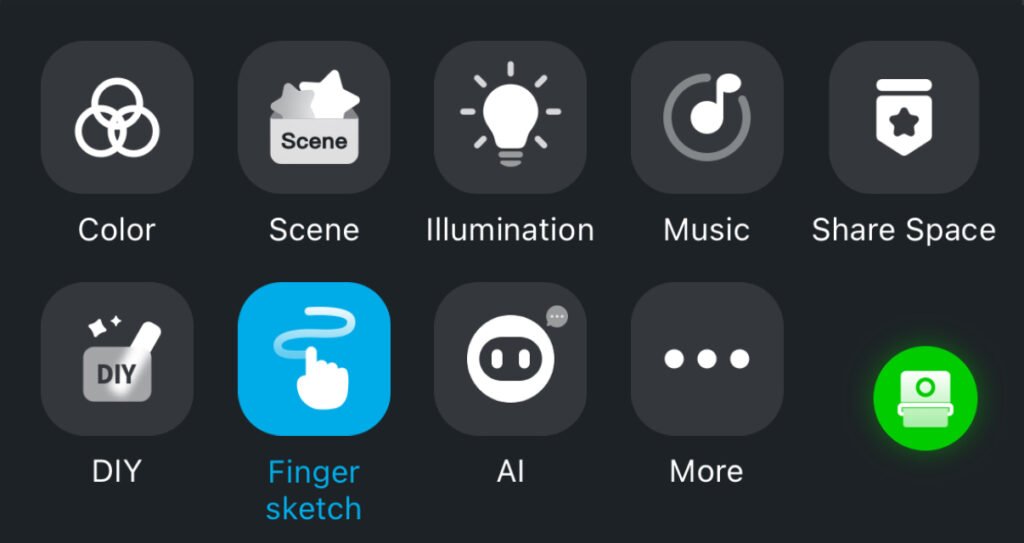
- Tap on the DIY Mode, then tap on the “+” button to create a new DIY
- Browse through the Effects to find one that you like, use “Finger Sketch” for a simple Finger Sketch then tap on the checkmark to continue.
- Give your DIY a name so that you can easily remember and change to this DIY setting.
- Here you can use Finger Sketch to fill in the lights for the colors that you want them to be. If you did not already know, Background Color and Brightness would be the colors for any lights that are not painted with a color for Finger Sketch.
- If you plan to have some lights off, set the background color to the non-color option (circle with a red cross through).
- If you do not want the lights to cycle and move, set the movement slider to the leftmost setting so it does not animate.
- Tap on Save to save your DIY.
- Now your DIY can be found in the DIY Mode AND it’s editable!
Leave a Reply